No-Bake Cereal Bars
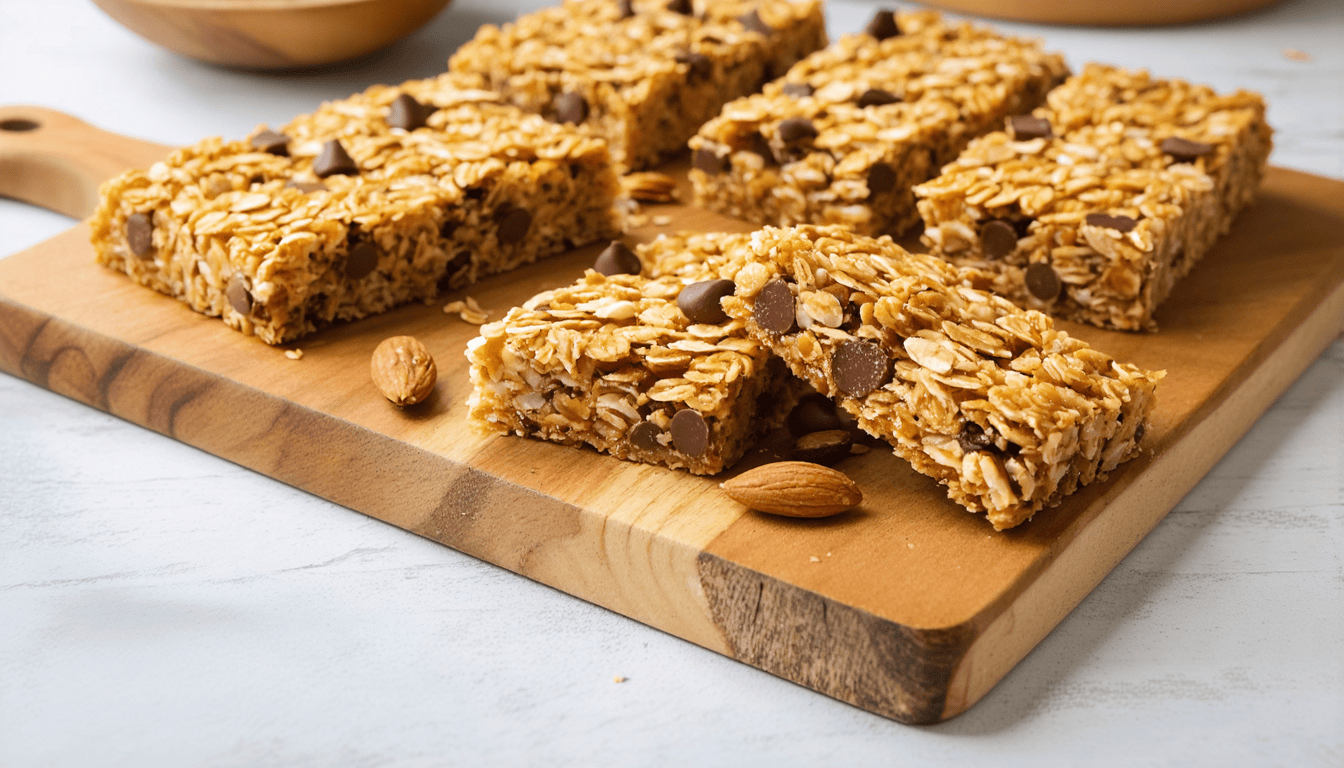
No-bake cereal bars that are fast, customizable, and perfect for busy days. They are chewy, crunchy, and never too sweet.
Prep
10 min
Cook
N/A
Total
40 min
Servings
12 small bars
Ingredients
Instructions
- 1
Prepare an 8×8-inch pan by lining it with parchment paper and greasing lightly.
- 2
In a large bowl, mix 3 cups of cereal and any dry mix-ins like nuts or seeds.
- 3
In a small saucepan, warm nut butter, honey, brown sugar (if using), coconut oil, salt, and vanilla until smooth and just bubbling.
- 4
Pour the warm mixture over the cereal and fold until evenly coated.
- 5
Let the mixture cool for 3-4 minutes, then fold in chocolate chips if using.
- 6
Transfer the mixture to the prepared pan and press down firmly and evenly.
- 7
Refrigerate for at least 30 minutes until set.
- 8
Lift the slab from the pan and cut into bars.
Nutrition (per serving)
180 kcal
Calories
Introduction
Cereal bars are my secret weapon on the busiest days—no-bake, fast, and endlessly customizable. I started making them on a school morning when we were already late, out of store-bought snacks, and my kids were “starving.” Ten minutes later we had a pan of soft, chewy bars cooling on the counter, and I’ve never looked back. Now these homemade cereal bars show up in lunch boxes, on road trips, and even on dessert tables next to fancier treats.
Table of Contents
Over the years I’ve learned that the best cereal bars are all about texture: a little chewy, a little crunchy, and never rock-hard or tooth-achingly sweet. My personal rule is simple: if it sticks to the pan, you didn’t grease enough, and if it crumbles apart, you didn’t press it firmly enough. Once you dial in those two things, these no-bake cereal bars are almost foolproof—much easier than classic rice krispie bars, and just as fun.
Ingredients
Here’s what you’ll need for one 8×8-inch pan (about 12 small bars). Feel free to tweak, but start here once so you understand the texture:
- 3 cups cereal
- Great options: crispy rice cereal, cornflakes, oat squares, or a mix
- For a granola-style feel, use 2 cups cereal + 1 cup rolled oats or loose granola
- ½ cup nut or seed butter
- Peanut butter gives classic “snack bar” flavor
- Almond, cashew, or sunflower seed butter all work well
- ⅓ cup honey or maple syrup
- Honey sets firmer; maple syrup gives a slightly softer, chewier bar
- 2 tablespoons brown sugar (optional, for sweeter dessert-style bars)
- ¼ teaspoon fine salt (skip if your nut butter is very salty)
- 1 teaspoon vanilla extract
- 2–3 tablespoons coconut oil or butter
- Helps everything set and adds richness
- ½ cup mix-ins (choose 2–3):
- Mini chocolate chips
- Chopped nuts (almonds, pecans, peanuts)
- Seeds (chia, hemp, sunflower, pumpkin)
- Dried fruit (cranberries, raisins, chopped apricots)
- Shredded coconut
Shopping tip: If you keep rolled oats, a basic cereal, and a jar of peanut butter on hand, you’re always 10 minutes away from a batch of homemade cereal bars—no special trip needed.
Timing
- Prep time: 10 minutes
- Chill time: 30–60 minutes
- Total time: 40–70 minutes (mostly hands-off)
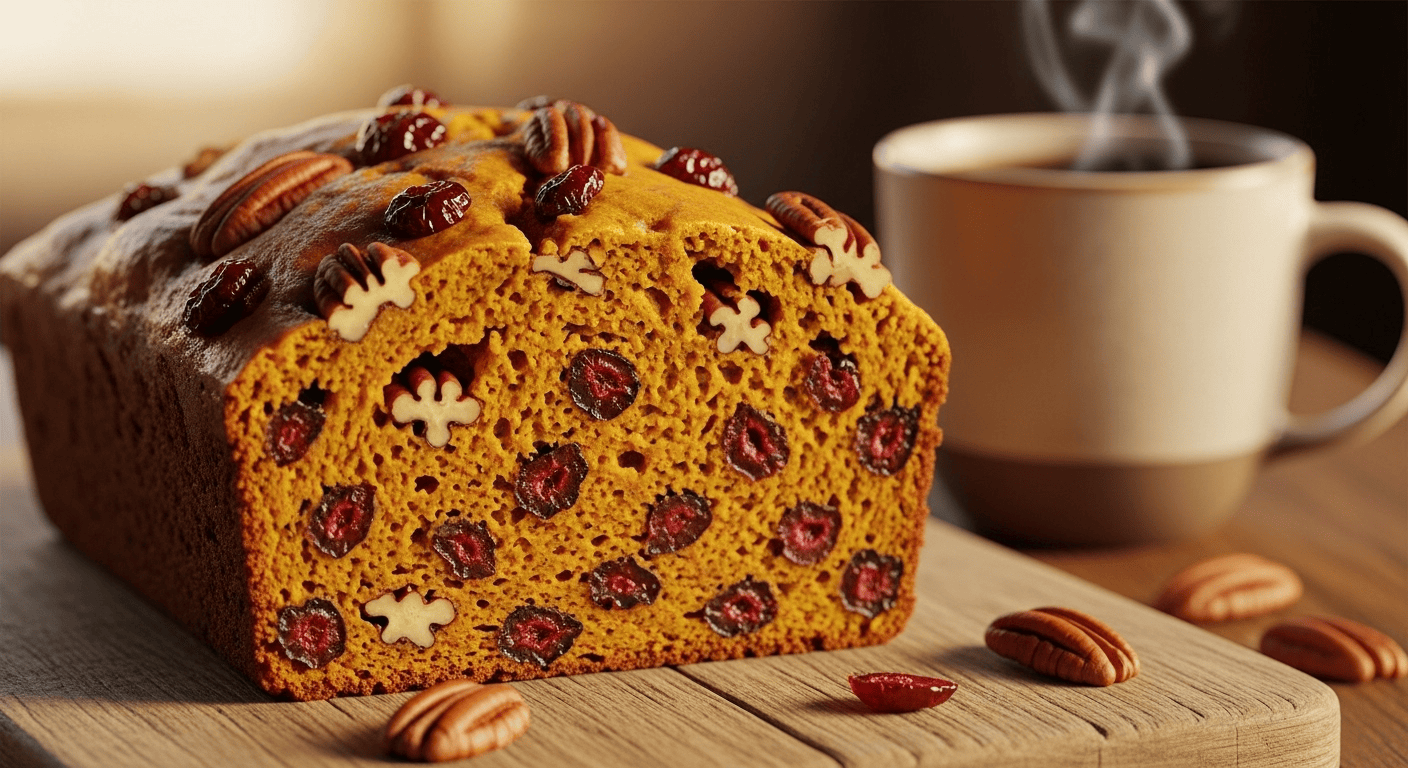
On truly chaotic days, I’ve cut these bars in 20–25 minutes by popping the pan into the freezer to speed things along. It’s not ideal for long-term storage (they chill very hard), but for a “we-need-snacks-now” moment, it works. Compared to baking something like cranberry pecan pumpkin bread, these cereal bars feel almost instant.
My favorite time-saver is to double the recipe and use a 9×13-inch pan. The effort is basically the same, and you’ve got snacks for the week—or enough to share at a playdate or potluck.
Step-by-Step Instructions
Prepare your pan Line an 8×8-inch pan with parchment paper, leaving some overhang on two sides as “handles.” Lightly grease the parchment with a bit of oil or butter. Tip: Think of this like lining a pan for brownies—when you do it right, the whole slab lifts out in one satisfying piece instead of sticking in the corners.
Measure and mix your dry ingredients In a large bowl, add your 3 cups of cereal and any dry mix-ins that are sturdy, like nuts, seeds, and coconut. Save chocolate chips and delicate dried fruit to fold in at the end so they don’t melt. Opinionated note: I prefer a mix of crispy rice cereal and rolled oats—100% rice cereal can taste a bit one-note, while the oats add a “granola bar” vibe and make the bars feel more like a real snack than candy.
Warm the binder on the stove or in the microwave In a small saucepan (or microwave-safe bowl), combine nut/seed butter, honey or maple syrup, brown sugar (if using), coconut oil or butter, salt, and vanilla. Warm over low heat, stirring, until everything is smooth and just starting to bubble around the edges—about 2–3 minutes. Do not boil hard. Why it matters: A gentle heat dissolves the sugar and helps the mixture grip the cereal. Boiling it aggressively, like caramel, can make your bars hard instead of chewy.
Combine wet and dry (gently but quickly) Pour the warm mixture over the cereal. Using a spatula or large spoon, fold until every piece is lightly coated. If adding dried fruit, this is a good time to mix it in. Personal tip: I always scrape to the bottom of the bowl—dry pockets hide there and turn into crumbly corners later. When every piece has a slight shine, you’re good.
Cool slightly, then add chocolate chips If you’re using chocolate chips, let the mixture sit for 3–4 minutes so it’s warm, not hot. Then fold in the chips. They’ll soften a bit and give you pretty streaks of chocolate instead of disappearing completely. Comparison: Adding chips too soon is like dropping chocolate into just-cooked fudge—it melts into one solid color instead of leaving those nice little bites.
Press firmly into the pan Transfer the mixture to your prepared pan. Use a spatula or the back of a lightly greased spoon to press it down firmly and evenly. For extra-compressed bars, place a piece of parchment on top and press with your hands or the bottom of a measuring cup. Key lesson: The more firmly you press, the better these no-bake cereal bars hold together. When I was lazy about this, I ended up with “cereal rubble” instead of bars.
Chill until set Refrigerate for at least 30 minutes, or up to a few hours. For quicker results, you can chill in the freezer for 15–20 minutes. You’ll know they’re ready when the top feels firm and not tacky. If they still feel very soft, give them another 10–15 minutes.
Slice and serve Use the parchment overhang to lift the whole slab out of the pan and onto a cutting board. With a sharp knife, cut into 12 small or 9 larger bars. Serving note: I prefer small, snack-size squares for kids, but for road trips and hikes, I cut them into long rectangles like store-bought granola bars—sturdier and easier to wrap.
If you enjoy experimenting, it’s fun to compare your version to classic no-bake styles like these crispy cereal bars and see which texture your family loves best.
Healthier Alternatives for the Recipe
Healthy cereal bars don’t need to taste like cardboard. I started tweaking this base recipe when I realized my kids were eating them almost every day; I wanted them to be a real snack, not just a dessert in disguise.
Here are some swaps that have worked well for me:
Sweetener:
Use maple syrup instead of honey, and skip the brown sugar. The bars stay soft and sweet without feeling like candy.
You can also cut the sweetener down to ¼ cup if your cereal is already sweetened (like a honey oat cereal).
Fats:
Swap coconut oil or butter for 1–2 extra tablespoons of nut or seed butter for more protein and healthy fats.
Use natural peanut butter (just peanuts and salt) rather than the super-sweet varieties.
Cereal base:
Use plain puffed rice or whole-grain flakes instead of sugary cereals.
Add chia or hemp seeds for a nutrient boost; they disappear into the texture but add protein and fiber.
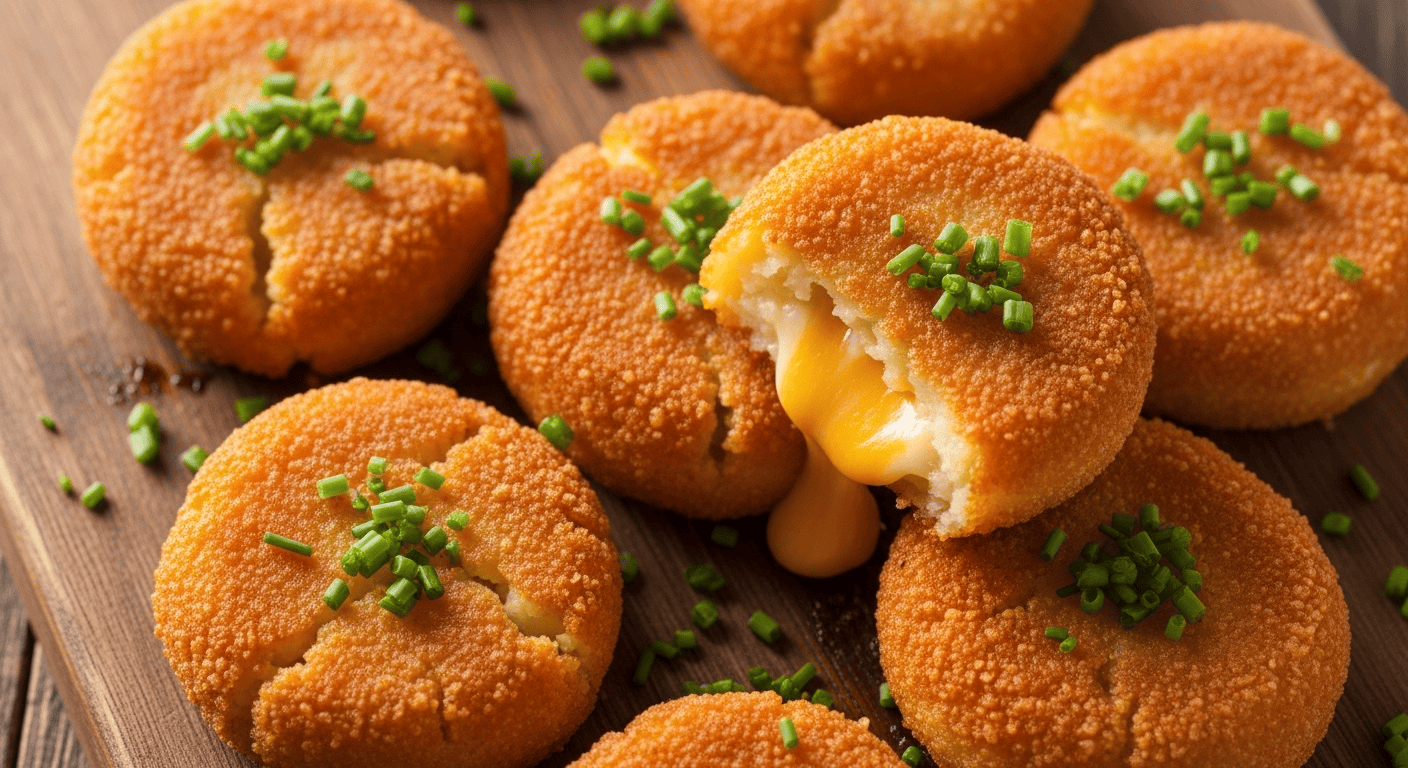
When I want a snack that can stand next to more indulgent treats like cheesy stuffed potato cakes, I load these cereal bars with oats, seeds, and just enough chocolate to keep everyone happy.
Serving Suggestions
These cereal bars are wildly versatile. I’ve served them:
As lunchbox heroes Wrap bars individually in parchment or reusable snack bags. My kids say they feel like a “treat trade” item, which is high praise.
As a quick breakfast-on-the-go Pair a bar with a yogurt and some fruit, and you’ve got a balanced breakfast you can eat in the car. This saved us during a season of way-too-early sports practices.
As a dessert platter item Cut the bars into bite-size squares and drizzle with melted chocolate. Arrange them alongside slice-and-serve treats like Bluey-themed birthday cake for a fun mix of simple and showy.
For hiking, picnics, and long drives Make a mixed batch—half with chocolate chips, half with dried fruit and nuts. Wrap tightly and toss into your bag. They don’t crumble as easily as many homemade granola bars, which is a blessing for car upholstery.
One of my favorite little rituals is to brew a cup of coffee in the afternoon and eat a cereal bar straight from the fridge—cold, chewy, and just sweet enough.
Common Mistakes to Avoid
Using too much cereal Packing in too much cereal makes the bars dry and crumbly. I learned this when I tried to “stretch” a batch for a party—bad idea. Stick to the 3-cup guideline, especially if you add lots of dry mix-ins.
Overheating the binder Boiling the honey/maple and nut butter too hard can turn your binder into a firm candy, making cereal bars that are hard instead of chewy. Warm gently until it’s smooth and glossy—no vigorous boiling.
Not pressing the mixture firmly enough Lightly patting the mixture into the pan leads to loose, crumbling bars that fall apart when cut. Take a full minute to really press down; it feels fussy, but it’s the main difference between snack bars and cereal gravel.
Skipping the chill time I know it’s tempting, but cutting too soon is like slicing warm brownies—they fall apart. If you absolutely must taste early, trim a little edge as a “chef’s sample” and let the rest cool properly.
Adding chocolate too soon If the mixture is piping hot, chocolate chips will melt completely, and you’ll lose those nice little pops of chocolate. Let the mix cool a few minutes first, or sprinkle some chips on top after pressing and gently press them in.
Storing Tips for the Recipe
How you store these no-bake cereal bars makes a huge difference in texture:
At room temperature:
Store in an airtight container, layered with parchment to prevent sticking.
They will keep 3–4 days. This gives the softest, chewiest texture, which my kids prefer.
In the fridge:
Ideal if your kitchen is warm or you used plenty of chocolate.
Bars stay firm and last about a week. I like this option when I make a big batch for school snacks.
In the freezer:
Wrap bars individually in plastic wrap or parchment, then put in a freezer bag.
Freeze for up to 2–3 months. Let thaw at room temperature for 15–20 minutes.
These are perfect “grab and go” snacks: toss a frozen bar into a lunchbox; it’ll be thawed by lunchtime.
I’ve found that honey-based bars keep their chew a bit better in the freezer than maple-based ones, which can get slightly more brittle. Either way, proper wrapping is key to avoiding freezer taste.
Troubleshooting Common Issues
Here’s what I’ve actually run into over many batches—and how I fix it:
Bars are too soft and won’t hold their shape
Chill longer, or move them from the counter to the fridge.
Next time, add 1–2 extra tablespoons of nut butter and/or a bit more cereal.
If your house is very warm, always store these in the fridge.
Bars are hard or tough
Your binder probably boiled too long or too hot. Use gentler heat and pull it off as soon as it’s smooth.
Try using maple syrup instead of honey for a softer chew, or reduce the brown sugar.
Bars are crumbly and falling apart
You may have used too much cereal or not enough binder.
Press the mixture more firmly into the pan—this alone often fixes the issue on the next batch.
For a salvaged fix, crumble them over yogurt as a “granola” topping.
Bars taste too sweet
Use unsweetened cereal, cut the honey/maple to ¼ cup, and skip the brown sugar.
Swap half the chocolate chips for nuts or seeds. I hit this problem when I combined sweet cereal, honey, and lots of chocolate—yummy, but more like candy bars than snacks.
Bars stick to the knife when cutting
Lightly oil your knife or run it under warm water and dry it before slicing.
Try cutting straight from the fridge for cleaner edges.
If you want additional combo ideas or want to compare sweetness levels, browsing recipes like these no-bake cereal bars can help you spot what balance your family might love most.
Nutritional Information per Serving
This will vary depending on the cereal, nut butter, and mix-ins you use, but here’s an approximate breakdown for one of 12 bars (using crispy rice cereal, peanut butter, honey, and chocolate chips):
- Calories: ~170–190
- Carbohydrates: 22–25 g
- Protein: 4–5 g
- Fat: 8–9 g
- Saturated fat: 3–4 g
- Fiber: 1–2 g
- Sugar: 12–15 g
- Sodium: 80–120 mg
To lighten things up, I often:
- Use mostly seeds and nuts instead of lots of chocolate chips
- Choose plain or lightly sweetened cereal
- Add a spoonful of chia seeds for extra fiber and staying power
FAQ
Can I make these cereal bars vegan?
Yes. Use maple syrup instead of honey and choose a vegan butter or coconut oil. Check that your cereal and chocolate chips are dairy-free. I’ve made fully vegan batches several times, and they set just as well as the original.
How do I make nut-free cereal bars for school?
Use sunflower seed butter or soy nut butter instead of peanut or almond butter. Choose seed mix-ins (sunflower, pumpkin, chia) and skip tree nuts. I’ve sent these to nut-free classrooms without any issues—just always double-check your labels.
Can I use granola instead of cereal?
You can. Use 3 cups of a loose granola (not large clusters) and skip or reduce the added sugar since granola is often already sweet. The texture will be denser and more like traditional granola bars, which is great for older kids and adults.
Do I have to refrigerate them?
If your kitchen is cool, you can store them at room temperature for a few days, but I still recommend chilling at least once to help them set. In very warm weather or if you added a lot of chocolate, the fridge is your friend to prevent melting and crumbling.
Can I double the recipe?
Absolutely. Double everything and use a 9×13-inch pan. Press very firmly and extend the chill time a bit. I almost always double when we have guests or busy weeks ahead—it takes the same effort for twice the payoff.
Conclusion
These no-bake cereal bars started as a last-minute save on a rushed morning and have turned into one of those “always in the house” recipes for my family. They’re the kind of snack that quietly does it all: school lunches, after-practice bites, coffee break treats, and road-trip fuel, all without turning on the oven or making a mess.
Once you make a batch, play with the mix-ins until you find your house favorite—maybe a seed-heavy “power bar,” a chocolatey dessert bar, or a fruit-and-nut version that tastes like something from a fancy café. Then come back to this base recipe anytime you need a fast, reliable, and customizable snack. Try a pan this week, and you might find yourself skipping store-bought bars for good.
Why These No-Bake Cereal Bars Work
The binding syrup (honey or corn syrup heated with peanut butter or nut butter) must reach a full simmer before you add the dry ingredients — if it is too cool, the bars will not set firm and will crumble when you cut them. Press the mixture into the pan firmly and evenly using the back of a buttered spatula; gaps in the mixture create weak spots that cause bars to fall apart at the seams. Refrigerating for at least one hour before cutting is essential — trying to cut warm bars compresses them unevenly. Store in the fridge, not at room temperature, to keep them from becoming sticky and soft.