Bubble Gum Ice Cream
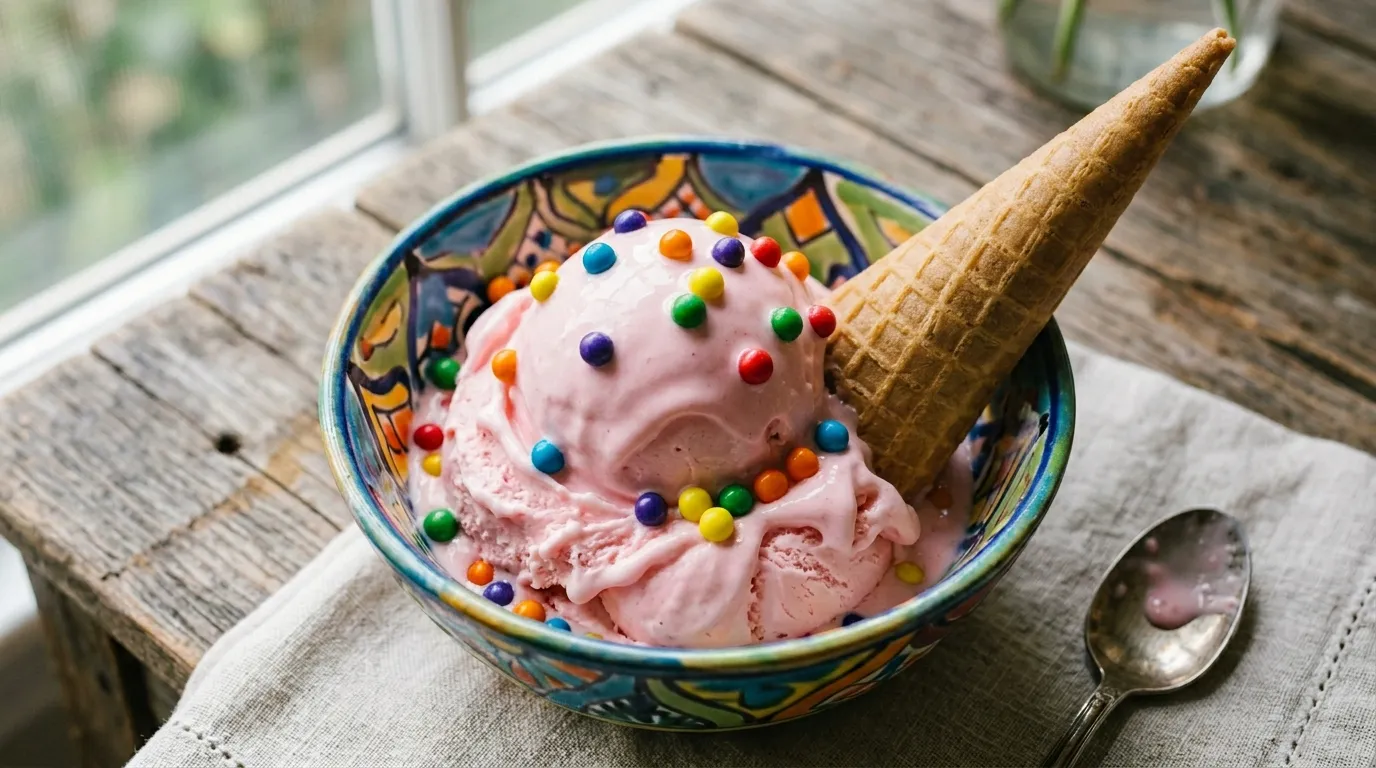
Bright, creamy, no-churn bubblegum ice cream bursting with sweet bubblegum flavor and colorful gumballs.
Prep
10 min
Cook
N/A
Total
10 min
Servings
8 servings
Ingredients
Instructions
- 1
In a large bowl, beat the heavy whipping cream with an electric mixer until stiff peaks form. The cream should hold its shape without collapsing.
- 2
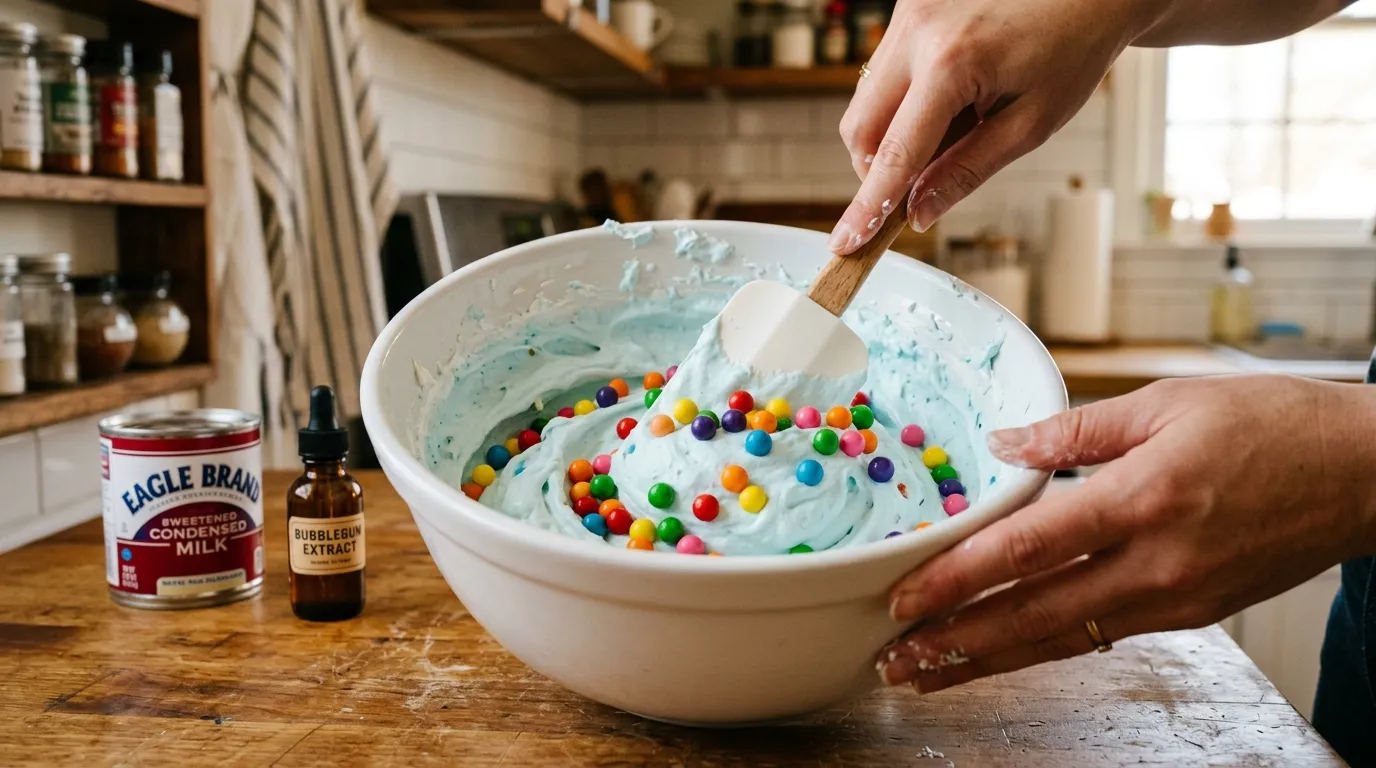
Gently fold the sweetened condensed milk and bubblegum extract into the whipped cream, keeping as much air in the mixture as possible for a light texture. Add food coloring if using.
- 3
Fold in the mini gumballs or chopped gumballs carefully so they are evenly distributed but don’t break apart.
- 4
Transfer the mixture to a freezer-safe container, smoothing the top with a spatula. Cover tightly and freeze for at least 6 hours or overnight. The ice cream should be firm but scoopable.
- 5
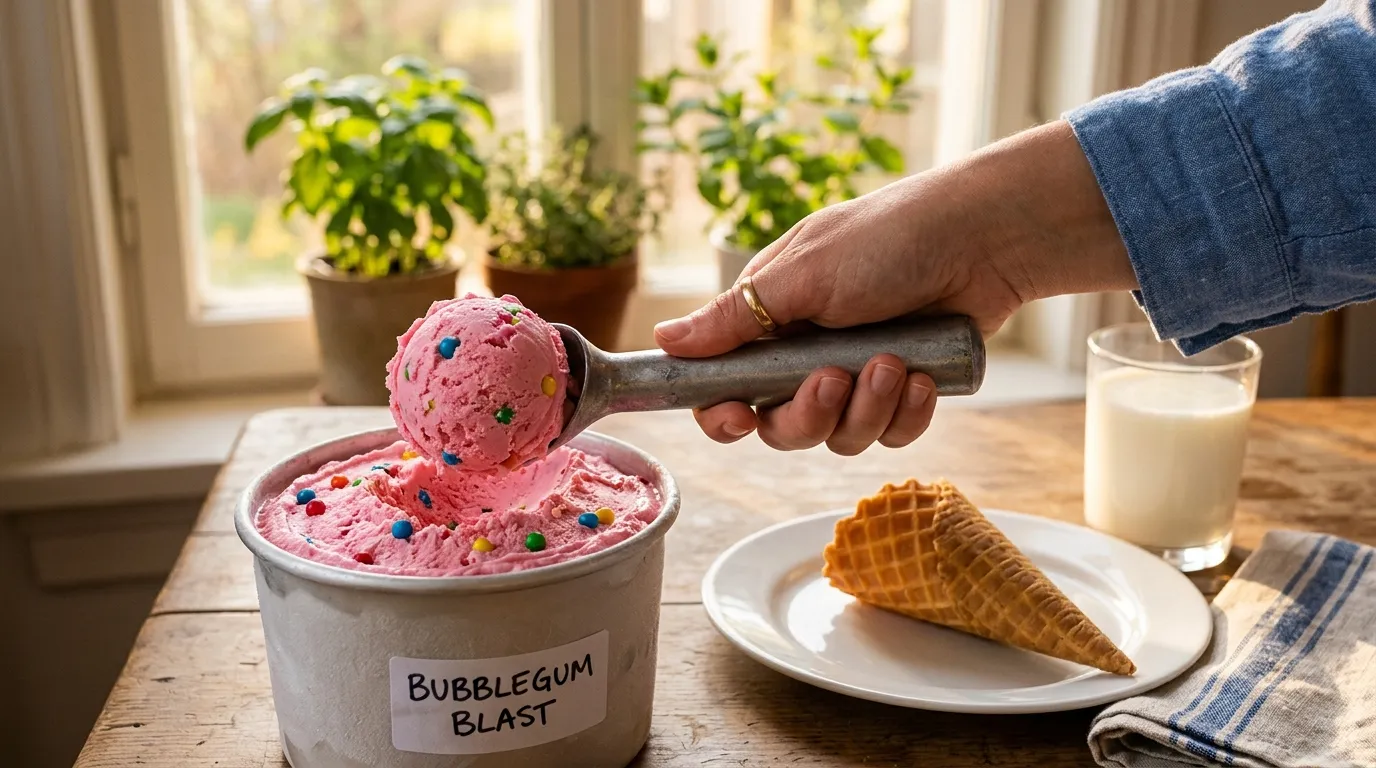
Let the ice cream sit at room temperature for 3–5 minutes before scooping to make serving easier.
Nutrition (per serving)
390 kcal
Calories
Quick Hook
This bubble gum ice cream is bright, creamy, and bursting with sweet bubblegum flavor—perfect for kids, parties, or any nostalgic treat. It’s easy to make at home, and the colorful gumballs mixed in add fun texture and visual appeal. Whether you’re after a no-churn bubblegum ice cream or a more traditional version, this recipe delivers that classic candy-shop taste instantly.
Ingredients
Ice Cream Base
- 2 cups heavy whipping cream
- 1 can (14 oz) sweetened condensed milk
- 1 teaspoon bubblegum extract
- Optional: 2-3 drops pink or blue food coloring for that classic bubblegum hue
Mix-Ins
- 1/2 to 1 cup mini gumballs or chopped gumballs (choose a soft variety that freezes well)
How To Make It
- Whip the cream: In a large bowl, beat the heavy whipping cream with an electric mixer until stiff peaks form. The cream should hold its shape without collapsing.
- Fold in sweetened condensed milk and flavor: Gently fold the sweetened condensed milk and bubblegum extract into the whipped cream, keeping as much air in the mixture as possible for a light texture. Add food coloring if using.
- Add gumballs: Fold in the mini gumballs or chopped gumballs carefully so they are evenly distributed but don’t break apart.
- Freeze: Transfer the mixture to a freezer-safe container, smoothing the top with a spatula. Cover tightly and freeze for at least 6 hours or overnight. The ice cream should be firm but scoopable.
- Serve: Let the ice cream sit at room temperature for 3–5 minutes before scooping to make serving easier.
Tips
- For a smoother bite, choose gumballs that are soft enough not to shatter in the freezer.
- Many home cooks find that adding a small amount of vanilla extract enhances the bubblegum flavor without overpowering it.
- A common tip is to fold gently when mixing to maintain a fluffy, creamy texture. Overmixing can make the ice cream dense.
Variations / Substitutions
- Gumball colors: Use all one color for a theme, or rainbow for a party-friendly look.
- Flavor swaps: Try swapping bubblegum extract with cotton candy extract for a fun twist.
- Dairy-free version: Use canned coconut milk and a plant-based whipping cream alternative.
FAQ
Can I eat the gumballs in the ice cream?
Yes, you can! Choose soft gumballs, which freeze well and stay chewable. Harder gumballs may be unpleasantly hard when frozen.
Can I make this ice cream without an ice cream maker?
Absolutely. This is a no-churn bubblegum ice cream, so it only requires mixing and freezing. No ice cream machine is necessary.
How long does this ice cream keep in the freezer?
Stored in an airtight container, it stays fresh for up to 2 weeks. For best texture, consume within a week.
Serving Ideas
- Scoop into colorful bowls or waffle cones for a nostalgic treat.
- Add sprinkles or drizzle with chocolate syrup for extra party flair.
- Pair with a simple vanilla wafer or cookie for added crunch.
For more fun frozen treats, check out House of Yumm’s homemade bubblegum ice cream guide or Glues Sticks Blog no-churn version.
Why This Bubble Gum Ice Cream Works
Bubble gum extract is concentrated — you only need a small amount, and adding too much makes the ice cream taste artificial and overwhelming rather than fun and nostalgic. The base is a standard no-churn recipe: heavy cream whipped to stiff peaks traps air that expands during freezing, giving you a scoopable, creamy texture without an ice cream machine. The pink color comes from a drop or two of gel food coloring rather than liquid — gel disperses evenly without thinning the cream base. Adding small pieces of soft bubble gum to the finished ice cream before the final freeze is the textural touch that makes it recognizable, but press them in quickly and freeze immediately so they do not deflate the whipped cream structure.
Looking for more easy recipes? Try our Easy Cherry Brownies or these Easy Pink Lemonade Cupcakes.