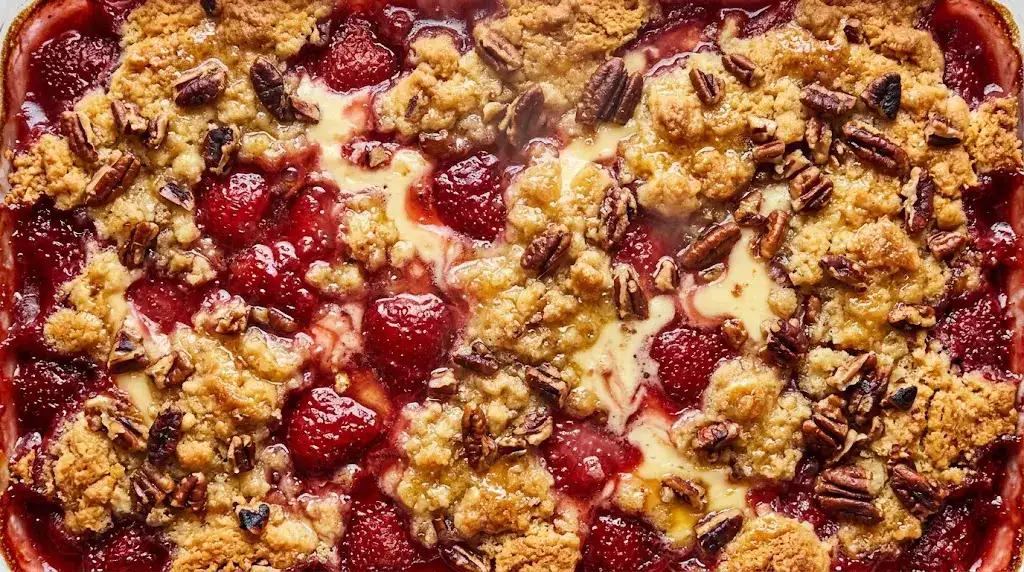
Strawberry Cheesecake Dump Cake
Strawberry cheesecake dump cake combines sweet, juicy strawberries with a creamy cheesecake layer in a hands-off, one-pan dessert.
Prep
10 min
Cook
50 min
Total
1 hr
Servings
8 servings
Ingredients
Instructions
- 1
Preheat your oven to 350°F (175°C). Lightly grease a 9×13-inch baking dish.
- 2
In a medium bowl, toss the strawberries with sugar and lemon juice until evenly coated. Spread the mixture evenly in the bottom of the prepared dish.
- 3
Beat the cream cheese, sugar, and vanilla until smooth. Drop spoonfuls evenly over the strawberry layer, then gently spread into a thin layer—small streaks are fine.
- 4
Sprinkle the dry yellow cake mix evenly over the cream cheese layer. Drizzle the melted butter over the top, making sure to cover as much of the surface as possible. If using nuts, sprinkle them evenly on top.
- 5
Place the dish in the oven and bake for 45–50 minutes, or until the top is golden brown and the filling is bubbling around the edges.
- 6
Allow the dump cake to cool at least 20 minutes before serving. Serve warm or at room temperature, optionally with a scoop of vanilla ice cream.
Nutrition (per serving)
540 kcal
Calories
5g
Protein
68g
Carbs
30g
Fat
3g
Fiber
370mg
Sodium
Strawberry cheesecake dump cake combines sweet, juicy strawberries with a creamy cheesecake layer in a hands-off, one-pan dessert. This strawberry cheesecake dump cake comes together in minutes, making it perfect for last-minute gatherings or a simple weeknight treat that still looks and tastes impressive. The crumbly, golden topping contrasts beautifully with the soft, fruity filling for a dessert that’s instantly satisfying.
Ingredients
Fruit Layer
- 4 cups fresh or frozen strawberries, hulled and halved
- 1/2 cup granulated sugar
- 1 tsp lemon juice
Cheesecake Layer
- 8 oz cream cheese, softened
- 1/4 cup granulated sugar
- 1 tsp vanilla extract
Cake Topping
- 1 box yellow cake mix (about 15.25 oz)
- 1/2 cup unsalted butter, melted
- 1/2 cup chopped pecans or walnuts (optional)
How To Make It
- Preheat and prep: Preheat your oven to 350°F (175°C). Lightly grease a 9×13-inch baking dish.
- Prepare fruit layer: In a medium bowl, toss the strawberries with sugar and lemon juice until evenly coated. Spread the mixture evenly in the bottom of the prepared dish.
- Add cheesecake layer: Beat the cream cheese, sugar, and vanilla until smooth. Drop spoonfuls evenly over the strawberry layer, then gently spread into a thin layer—small streaks are fine.
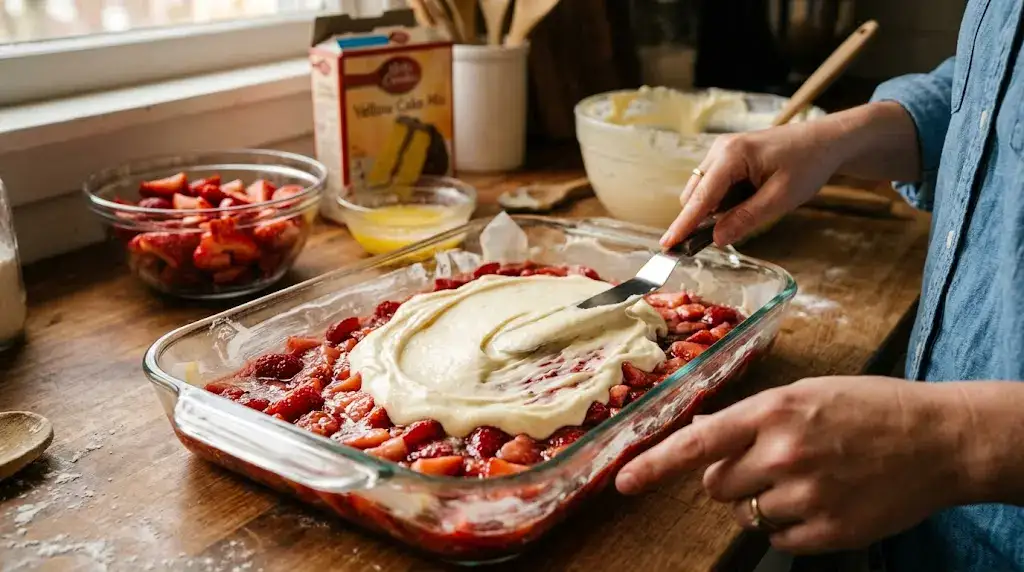
- Top with cake mix: Sprinkle the dry yellow cake mix evenly over the cream cheese layer. Drizzle the melted butter over the top, making sure to cover as much of the surface as possible. If using nuts, sprinkle them evenly on top.
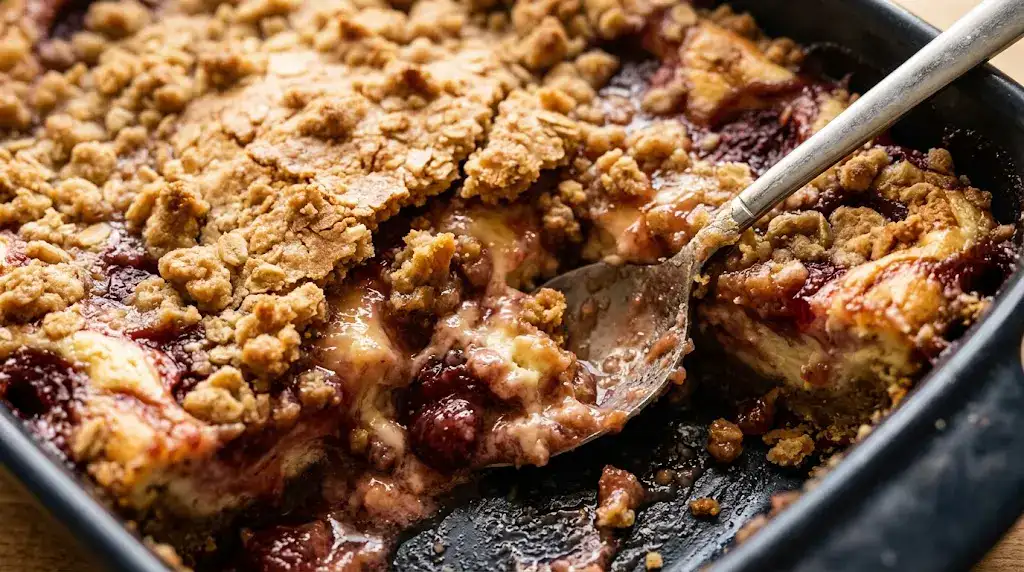
- Bake: Place the dish in the oven and bake for 45–50 minutes, or until the top is golden brown and the filling is bubbling around the edges.
- Cool and serve: Allow the dump cake to cool at least 20 minutes before serving. Serve warm or at room temperature, optionally with a scoop of vanilla ice cream.
Tips
- If using frozen strawberries, thaw and drain excess liquid to prevent a soggy bottom layer.
- For a richer cheesecake layer, mix in 1/4 cup sour cream with the cream cheese before spreading.
- To make cleanup easier, line the baking dish with parchment paper.
Variations / Substitutions
- Swap strawberries for blueberries, raspberries, or a mixed berry combination.
- Use a boxed white cake mix for a lighter flavor or chocolate cake mix for a twist.
- For a nut-free version, simply omit the pecans or walnuts.
FAQ
Can I make this ahead of time?
Yes, assemble the dump cake and refrigerate for up to 24 hours before baking. Bake as directed, adding a few extra minutes if baking straight from the fridge.
Can I freeze strawberry cheesecake dump cake?
Absolutely. Freeze cooled portions in an airtight container for up to 3 months. Thaw overnight in the refrigerator before reheating.
What if I don’t have fresh strawberries?
Frozen strawberries work perfectly. Just thaw and drain them slightly to avoid excess moisture in the cake.
Can I make individual servings?
Yes, this recipe can be halved and baked in an 8×8-inch dish or divided into ramekins for single-serve desserts.
How do I prevent the top from burning before the filling is cooked?
Cover loosely with foil for the first 30 minutes of baking, then remove foil to allow the topping to brown and crisp.
For more easy, crowd-pleasing desserts, check out The Kitchn’s fruit desserts collection or explore other easy baking recipes.